Security bugging you about SCOM using TLS1.0 ?
Have questions on the TLS1.2 Protocol Support Deployment guide link?
If using ACS, please review ACS steps to configure from the guide above
It’s time to update SCOM 2016 to TLS1.2!
Pre-requisites
.Net and SQL native client, ODBC must be updated to TLS1.2 compliant version
HTTPS Endpoints must be CA signed certificates using SHA1 or SHA2
Ensure .Net version 4.6 is installed on all SC components
Determine which .Net is installed https://docs.microsoft.com/en-us/dotnet/framework/migrationguide/how-to-determine-which-versions-are-installed
From PowerShell (run as admin is NOT required)
Get-ChildItem ‘HKLM:\SOFTWARE\Microsoft\NET Framework Setup\NDP’ -recurse | Get-ItemProperty -name Version,Release -EA 0 | Where { $_.PSChildName -match ‘^(?!S)\p{L}’} | Select PSChildName, Version, Release
Above commands from StackOverFlow article
Guide to .Net versions and dependencies https://docs.microsoft.com/enus/dotnet/framework/migration-guide/versions-and-dependencies
Sample output from win2k8R2 sp1 server (and same from 2016 server)

SQL Server updates
Install the required SQL server update supporting TLS1.2
From PowerShell as Administrator
Invoke-Sqlcmd -Query “SELECT @@VERSION;” -QueryTimeout 3
Example Output
PS C:\Windows\system32> Invoke-Sqlcmd -Query “SELECT @@VERSION;” -QueryTimeout 3
Column1
——
Microsoft SQL Server 2016 (RTM-GDR) (KB3210111) – 13.0.1728.2 (X64) …
OR
Microsoft SQL Server 2008 R2 (SP2) – 10.50.4000.0 (X64)
Compare to SQL matrix to download and install appropriate version
TLS 1.2 SQL Support https://support.microsoft.com/en-in/help/3135244/tls-1.2-support-for-microsoft-sql-server
NOTE Verify you are running a compliant cumulative update (CU), you will need the patch (SQL2016 natively supports TLS1.2)
SQL Server 2008R2 SP2 is NOT supported for TLS1.2 https://blogs.msdn.microsoft.com/sqlreleaseservices/tls-1-2-support-for-sql-server-2008-2008-r2-2012and-2014/
Install the required SQL Native Client
FYI – SQL 2016 uses the SQL 2012 Native client
Download link https://www.microsoft.com/en-us/download/details.aspx?id=50402
SQL Native client 11.0 should be installed on ALL MS and SQL servers (SQL 2008-2016)
From PowerShell as Administrator
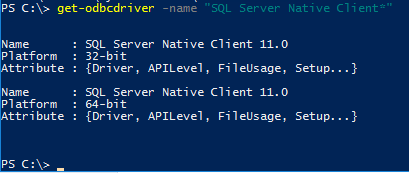
get-odbcdriver -name “SQL Server Native Client*”
Example Output
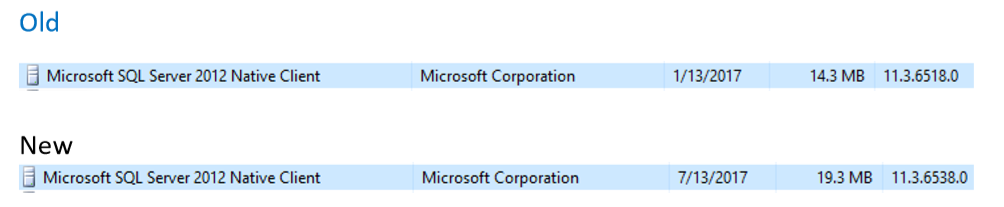
From Control Panel, Programs and Features, Installed Programs
Stop SQL Server and SQL Server agent services
Stop-service SQLSERVERAGENT
Stop-service MSSQLSERVER
Install SQL Native Client MSI
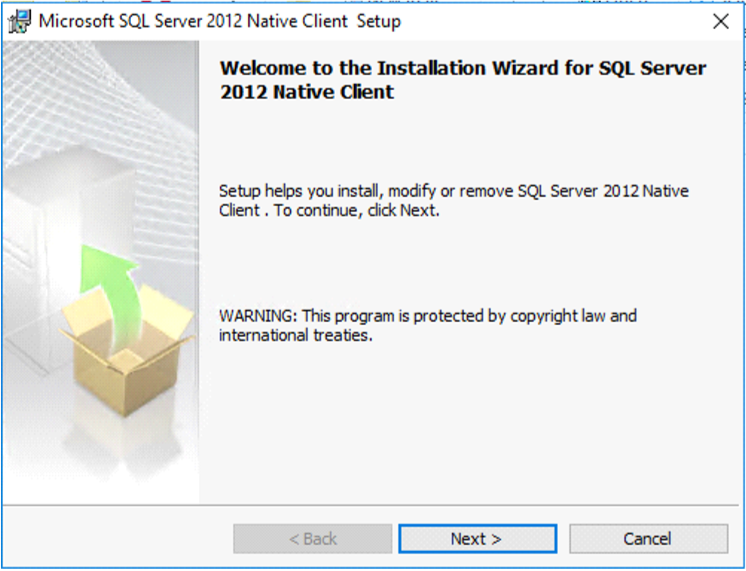
Double click on SQL Native Client MSI file to begin installation
Click on Yes to begin installation

Click Next on the Installer window
Click I accept radio button
Click Next

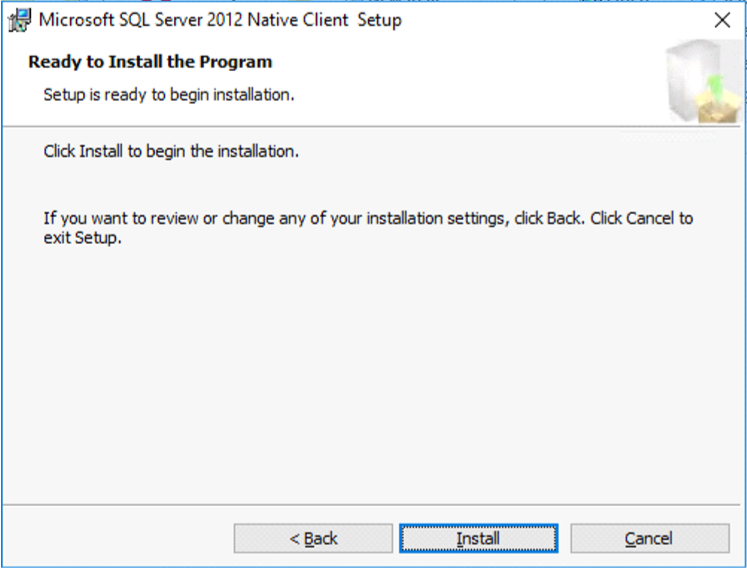
Click Next on Feature Selection

Click Install
Click Yes on User Account Control (UAC) prompt
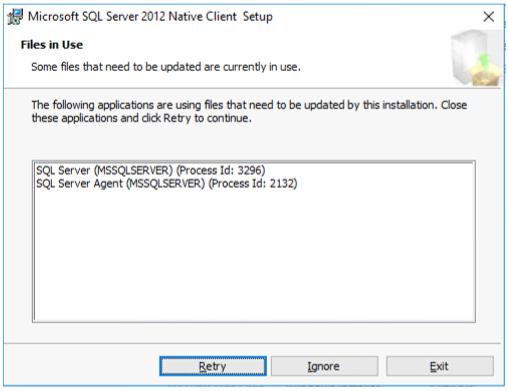
Stop SQL Server and SQL Server agent (if they restarted)
Watch installer status
Click Finish when complete
Verify SQL Native Client Verification
Verify SQL services are running
Stop SQL Server and SQL Server agent services From PowerShell as Admin
Get-service SQLSERVERAGENT
Get-service MSSQLSERVER
From PowerShell as Admin If necessary, start SQL Server and SQL Server agent services
Start-service SQLSERVERAGENT
Start-service MSSQLSERVER
Verify Installer completed
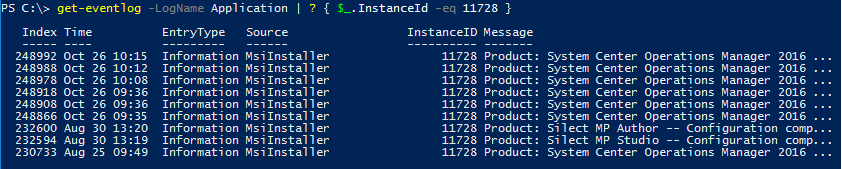
In Event Viewer, Windows Logs, Application look for event 11728

From PowerShell
Get-EventLog -LogName Application | ? { $_.InstanceId -eq 11728 }
Rinse and Repeat for other MS and SQL servers in environment
Install ODBC on all Management Servers
For SCOM & SM, ODBC 11.0 or ODBC 13.0 should be installed on all MS and SQL servers
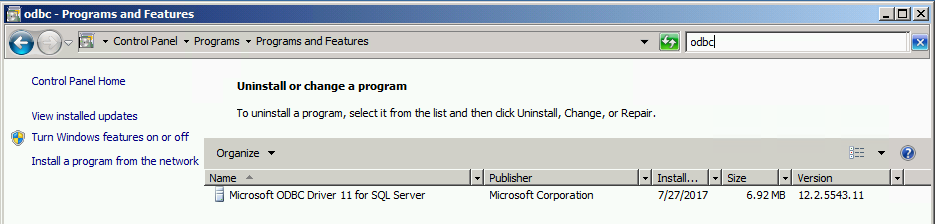
Verify ODBC v11 for server win2k8R2
From Control Panel
Click on Programs
Click on Programs and Features
Search for ODBC
Verify ODBC v13 for Server 2016
Verify version from PowerShell (run as administrator NOT required)
get-odbcdriver -name “ODBC Driver * SQL Server”
Output

Download and install appropriate version
11.0: https://www.microsoft.com/en-us/download/details.aspx?id=36434 (Version 2.0.5543.11)
13.0: https://www.microsoft.com/en-us/download/details.aspx?id=50420
Verify Installer completed
In Event Viewer, Windows Logs, Application look for event 11728
From PowerShell
Get-EventLog -LogName Application | ? { $_.InstanceId -eq 11728 } | ? { $_.Message -like “*Microsoft ODBC*”
Output

NOTE Please make sure servers are patched with latest Monthly Rollup Updates
Had issue where KB3080079 was NOT installed on server. Patch applied to Win7, Server 2008,2008R2
From Powershell
get-hotfix -id KB3080079
Output

Install SCOM 2016 UR4 update
See Kevin Holman’s UR4 install blog https://blogs.technet.microsoft.com/kevinholman/2017/10/28/ur4-for-scom-2016-step-by-step/
Time to enable TLS1.2 Secure Channel messages on MS and SQL server (gateway if installed in your environment)
See Gallery for add/query/remove registry keys
Add SCHANNEL path for TLS
$ProtocolList = @(“SSL 2.0″,”SSL 3.0″,”TLS 1.0”, “TLS 1.1”, “TLS 1.2”)
$ProtocolSubKeyList = @(“Client”, “Server”)
$DisabledByDefault = “DisabledByDefault”
$Enabled = “Enabled”
$registryPath = “HKLM:\\SYSTEM\CurrentControlSet\Control\SecurityProviders\SCHANNEL\Protocols\”
foreach($Protocol in $ProtocolList)
{
Write-Host ” In 1st For loop”
foreach($key in $ProtocolSubKeyList)
{
$currentRegPath = $registryPath + $Protocol + “\” + $key
Write-Host ” Current Registry Path $currentRegPath”
if(!(Test-Path $currentRegPath))
{
Write-Host “creating the registry”
New-Item -Path $currentRegPath -Force | out-Null
}
if($Protocol -eq “TLS 1.2”)
{
Write-Host “Working for TLS 1.2”
New-ItemProperty -Path $currentRegPath -Name $DisabledByDefault -Value “0” -PropertyType DWORD -Force | Out-Null
New-ItemProperty -Path $currentRegPath -Name $Enabled -Value “1” -PropertyType DWORD -Force | Out-Null
}
else
{
Write-Host “Working for other protocol”
New-ItemProperty -Path $currentRegPath -Name $DisabledByDefault -Value “1” -PropertyType DWORD -Force | Out-Null
New-ItemProperty -Path $currentRegPath -Name $Enabled -Value “0” -PropertyType DWORD -Force | Out-Null
}
}
}
# Tighten up the .NET Framework
$NetRegistryPath = “HKLM:\SOFTWARE\Microsoft\.NETFramework\v4.0.30319”
New-ItemProperty -Path $NetRegistryPath -Name “SchUseStrongCrypto” -Value “1” -PropertyType DWORD -Force | Out-Null
$NetRegistryPath = “HKLM:\SOFTWARE\WOW6432Node\Microsoft\.NETFramework\v4.0.30319”
New-ItemProperty -Path $NetRegistryPath -Name “SchUseStrongCrypto” -Value “1” -PropertyType DWORD -Force | Out-Null
Restart servers
Verify SCOM Console for alerts and connectivity